Products
Calendar Hangers
Wire Calendar Hangers
- Professional Calendar Hangers
- Stocked in Three Colours – Black, White & Silver
- Stocked in Three Sizes – 57mm (2″), 76mm (3″), 102mm (4″)
- Special Sizes and Colours Available Upon Request
- Boxed in Cartons of 1,000 Calendar Hangers Per Carton
- Simply Select your Desired Colour & Size
- If you Require Multiple Boxes of One Size & Colour, You Can Change the Quantity of Each Item at Checkout
£20.00 - £25.00 ex VAT
£24.00 - £30.00 incl VAT
Description
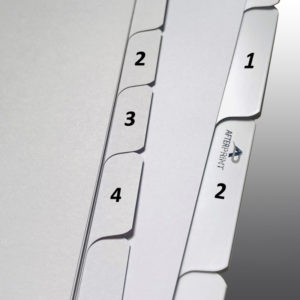
AfterPrint supply a wide range of traditional wire calendar hangers. We stock three sizes, 57mm (2″), 76mm (3″) and 102mm (4″) and three colours Black, White & Silver. Other sizes & colours are available upon request. Each box of calendar hangers contains 1000 calendar hooks
Calendar hangers are used in the production of calendars and are easy to fit, sliding on after the wire is applied to your calendar. Our easy fit system enables calendars to be produced quickly and easily with no extra tools or special skills. Match the hanger colours to your binding wire colour choice and create beautiful bespoke calendars.
Instructions on how to use these Calendar Hangers
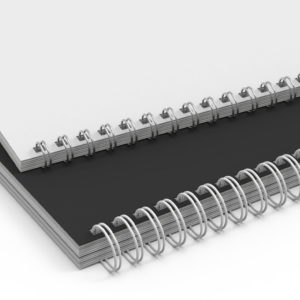
Calendars can be produced in both A3 and A4 formats and commonly use wire sizes 4 (1/4″) and Size 5 (5/16″) in 34 Loop 3:1 Pitch. You will also require a thumb-cut punch or special calendar die tool to create calendars.
For these instructions I will refer to an A4 Landscape calendar, but the process is the same for A3 calendars. First on your wire punch you will need to disable the middle 4 punch pins so these holes are not created. If you have a dedicated calendar punch tool you can punch you document normally. When punched you should have 15 holes on both sides of the centre point which is not punched. Using a thumb-cut punch, Renz TC20 is the ideal solution, cut the thumb cut into the calendar.
Take an A4 length binding wire and snip off 4 loops then cut the wire in half to create two wires, both with 15 loops. Apply the wire to your calendar in the normal manner and close the wire. Once the wire is closed you can simply slide in the calendar hanger, the calendar is now complete. The hanger will rotate through the thumb-cut hole as you rotate through the months of the year.
Have an enquiry on one of our products?
If you have an enquiry please fill out the form below:

